 EditRight

Before you start: your store uses customer accounts (Settings › Customer accounts), so customers can sign in to see and change their orders.
Install and open EditRight
Install EditRight from the Shopify App Store and open it from Apps in your admin. Sensible defaults are already active: address, size and color, quantity and cancel, a 60-minute window and automatic refunds.
Choose what customers can change
In step 1, tick the changes you want to allow. Keep Refund automatically on if refunds should go out without you.
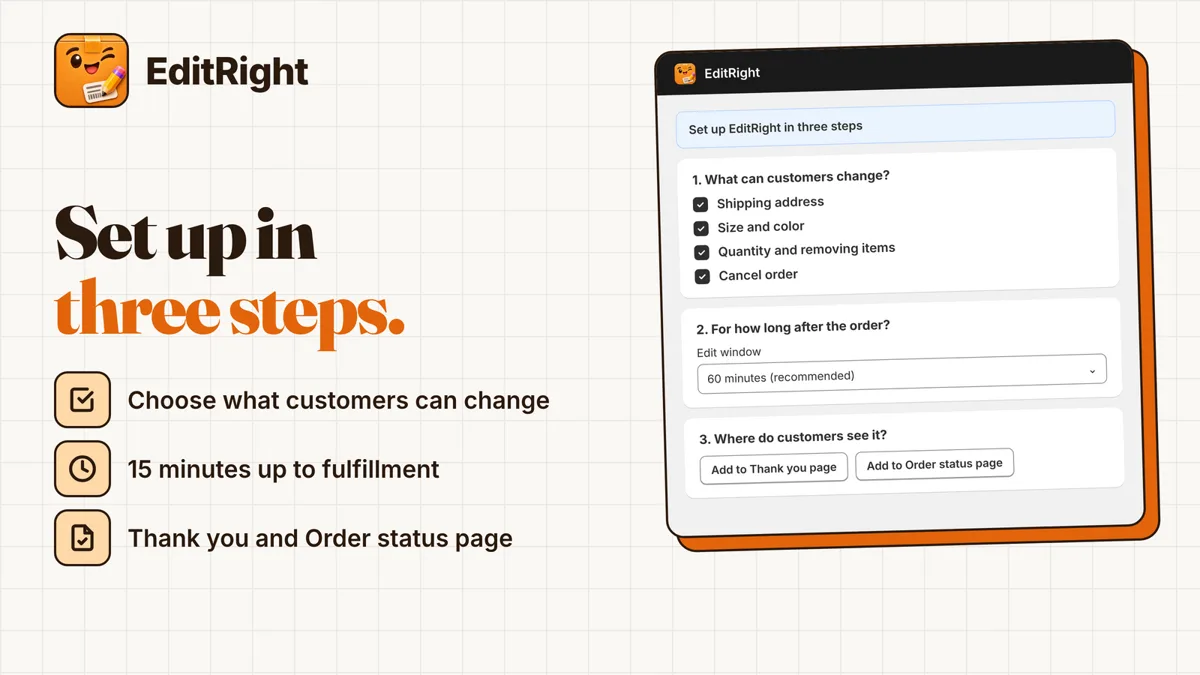
The three setup steps in the admin. Set the edit window
In step 2, pick 15, 30 or 60 minutes, or until the order is fulfilled. On paid plans the order is held for that time and released automatically. Click Save.
Add the card to both pages
In step 3, click Add to Thank you page. The checkout editor opens with the EditRight card ready; drag it where you want it and click Save. Do the same with Add to Order status page.
Turn on the change page
Click Turn on the change page. In the editor, click + next to Order edit page, choose Accounts and save. Customers now reach Change your order from the card.
Test it with an order
Sign in as a customer and place an order. On the Thank you page, click Change your order, fix the address, lower a quantity or cancel. Open the order in your admin: it shows the change, and the refund if items were removed or cancelled.
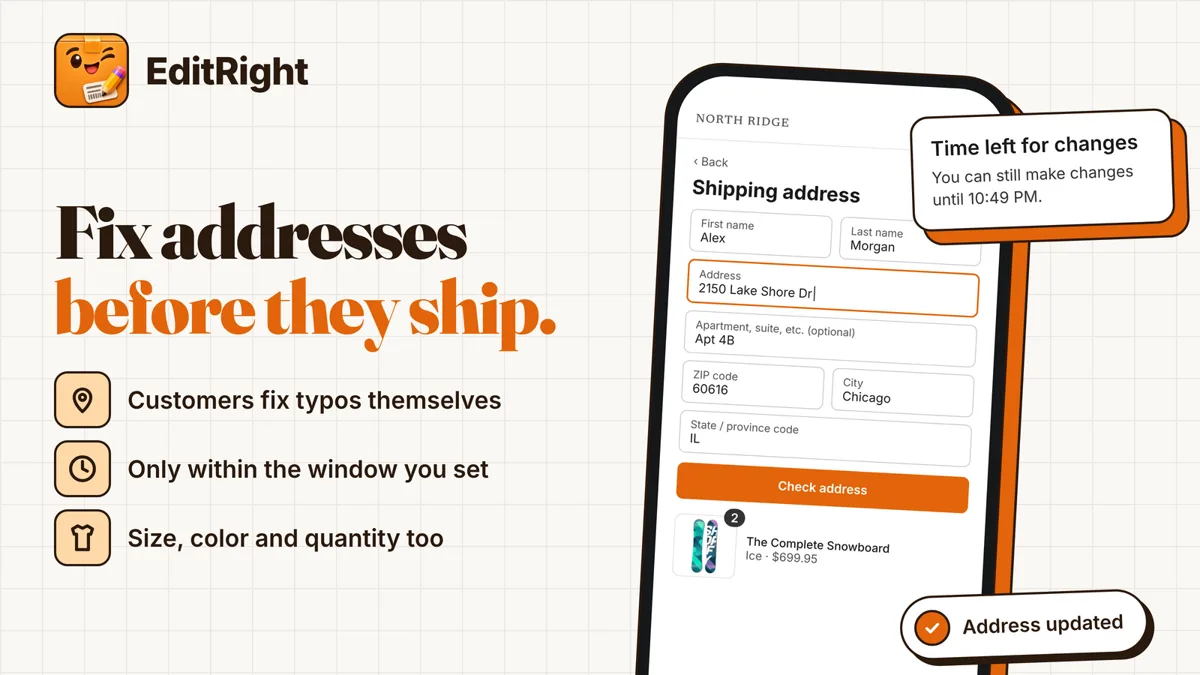
What your customer sees when changing the address.
Next: read the documentation for every detail, or the FAQ.